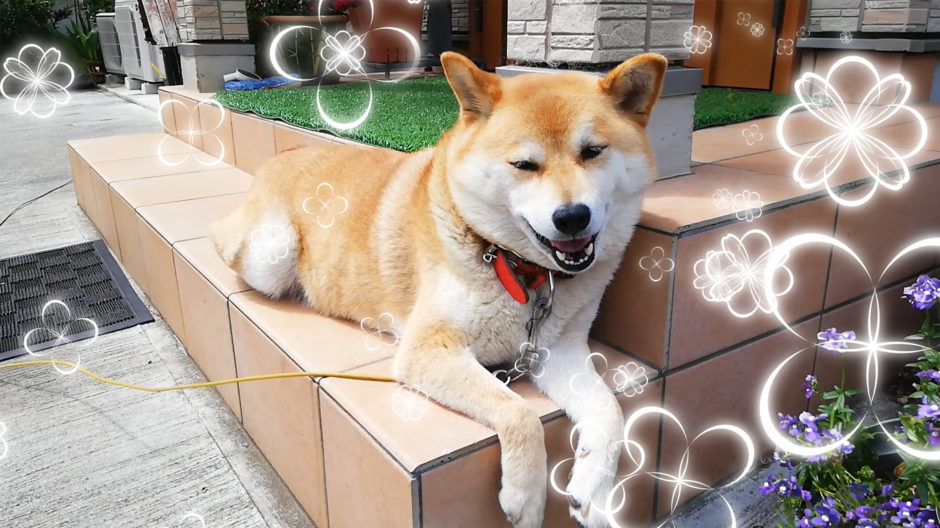
波を使用して花の形をつくる
1.シェイプレイヤーで楕円形を作る
After Effectsのシェイプの線の中にある“波”を使用して花の形を作ります
後はリピーターで散らばせて作ってみました
![](https://nohanasaku.com/wp-content/uploads/2020/06/写真_0000s_0006_レイヤー-4-1024x576.jpg)
▪新規レイヤーでシェイプレイヤーを作成し、楕円形をダブルクリック
▪塗り:なし 線:88px
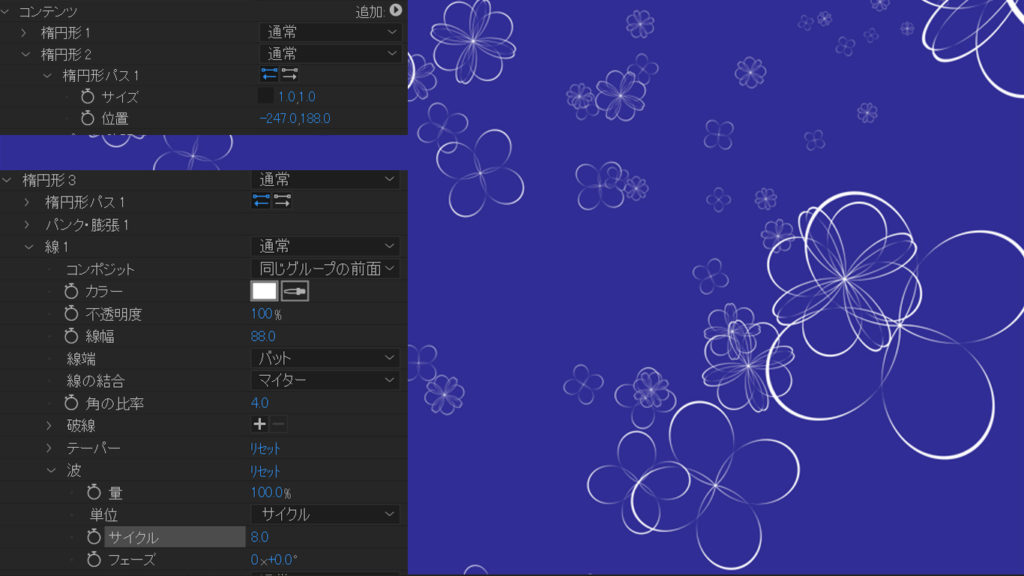
2.楕円形パスのサイズと波を調整し花の形に
![](https://nohanasaku.com/wp-content/uploads/2020/06/写真_0000s_0005_レイヤー-5-1024x576.jpg)
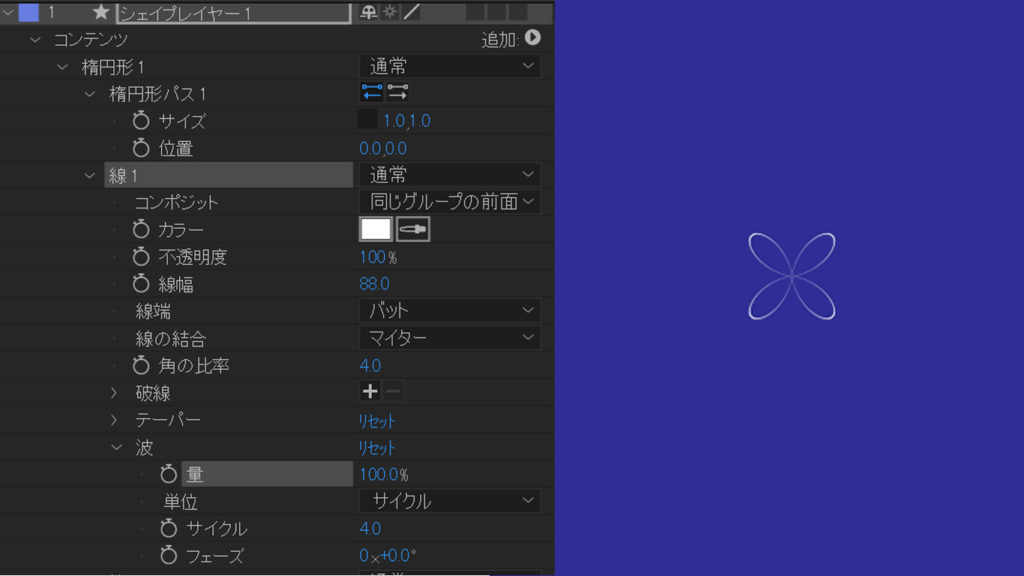
▪楕円形パス1のサイズを鎖マークを外して〈1.0,1.0〉
▪線1の中の波の量〈100%〉
▪単位〈サイクル〉
▪サイクル〈4.0〉
3.追加▶からパンク・膨張を適用し丸っこく
![](https://nohanasaku.com/wp-content/uploads/2020/06/写真_0000s_0004_レイヤー-7-1024x576.jpg)
▪パンク・膨張の量〈15.0〉
4.コンテンツを選択し追加▶からリピーターを適用し花を増やす
![](https://nohanasaku.com/wp-content/uploads/2020/06/写真_0000s_0003_レイヤー-8-1024x576.jpg)
▪リピーター:コピー数〈50.0〉
:オフセット〈-15.0〉
▪トランスフォームリピーター:位置〈-50.0、40.0〉
:スケール〈109、109%〉
:回転〈0×+58.0〉
5.楕円形のトランスフォームで散らばす
![](https://nohanasaku.com/wp-content/uploads/2020/06/写真_0000s_0002_レイヤー-11-1024x576.jpg)
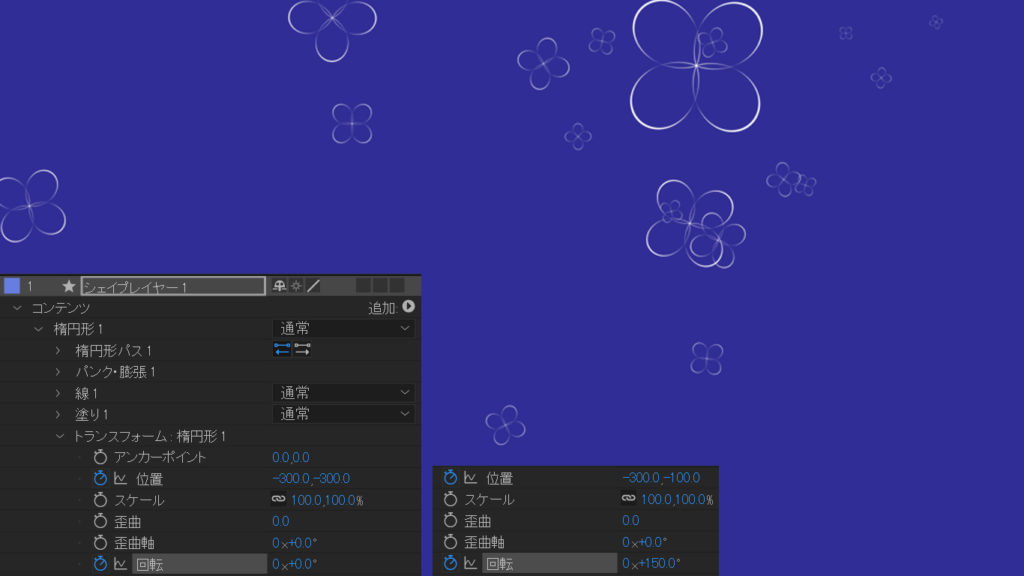
▪トランスフォーム楕円形:位置〈-300、-300〉でキーフレーム
10秒後〈-300、-100〉でキーフレーム
▪トランスフォーム楕円形:回転〈0×-0.0〉でキーフレーム
10秒後〈0×150.0〉でキーフレーム
6.楕円形1を複製し 違う形の花を作成
![](https://nohanasaku.com/wp-content/uploads/2020/06/写真_0000s_0001_レイヤー-13-1024x576.jpg)
▪楕円形1を複製(Ctrl+D)し楕円形2を作成
▪楕円形2:位置〈-247、188〉
▪楕円形2を複製し楕円形3を作成
▪楕円形3:波サイクル〈8.0〉
7.ドロップシャドウで光らせる
![](https://nohanasaku.com/wp-content/uploads/2020/06/写真_0000s_0000_レイヤー-14-1024x576.jpg)
▪シェイプレイヤーにエフェクトのドロップシャドウを乗せる
▪シャドウカラー:白
▪不透明度:100%
▪距離:0.0
▪柔らかさ:40.0
▪ドロップシャドウを複製
▪ドロップシャドウ2の柔らかさ:76.0
8.後はお好みで…
![](https://nohanasaku.com/wp-content/uploads/2020/06/写真_0000s_0009_レイヤー-1-1-1024x576.jpg)
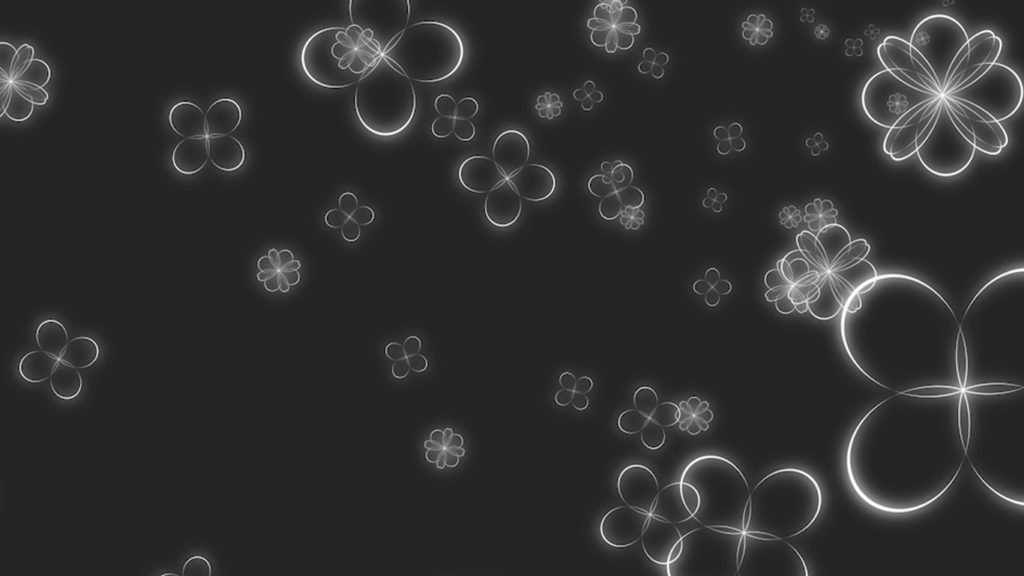
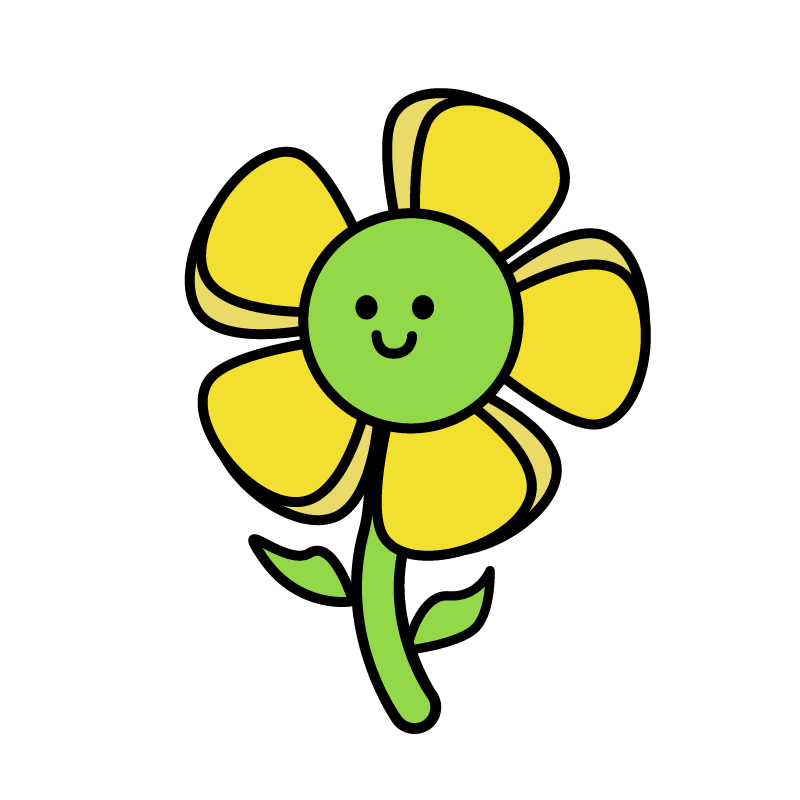
背景として使用したり、線の色を変えたり冒頭のわんこのように写真や動画に乗せてもいいと思います
ちなみに、わんこに重ねたら花が薄かったので2の楕円形パスサイズを3.0にしてます
よかったら、作ってみて下さい
コメントを残す